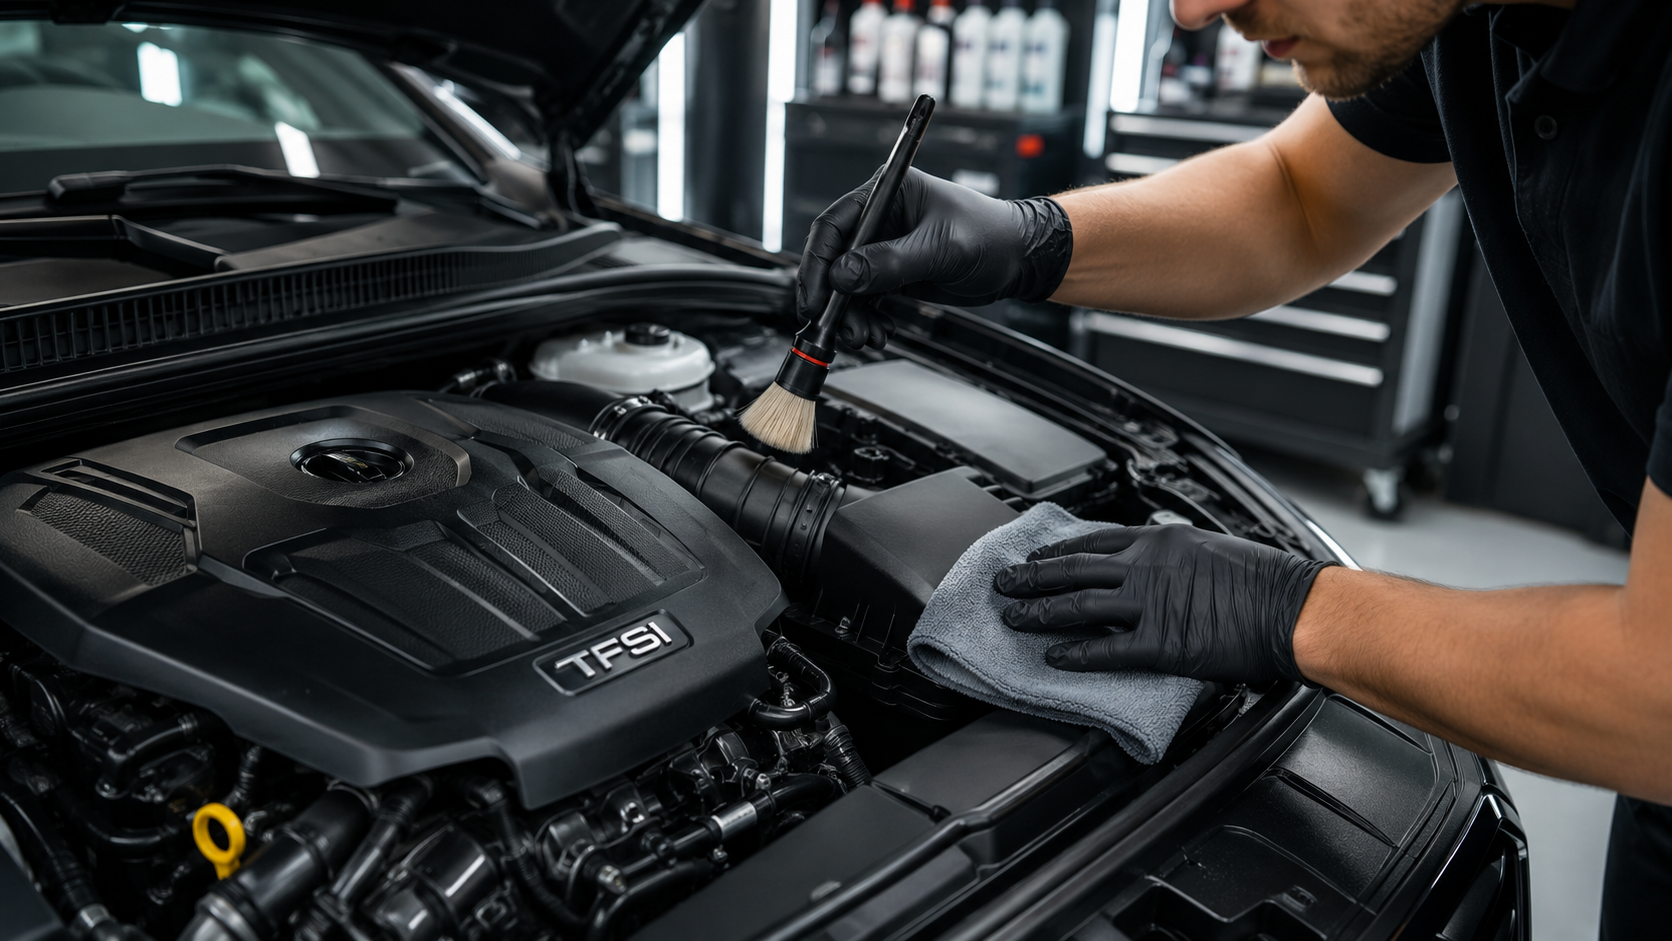
A clean engine bay is one of those details that immediately signals a well maintained car. It’s the first thing a knowledgeable buyer or mechanic looks at, and a filthy, oil streaked engine compartment raises questions about how the rest of the car has been kept.
But engine bay cleaning also intimidates a lot of car owners. Water and electronics don’t mix, and the consequences of getting it wrong can be more serious than a water spot on a panel. Here’s an honest guide to whether you should clean your engine bay, and how to do it safely.
Should You Clean Your Engine Bay?
Yes, with appropriate care and technique. A clean engine bay makes it easier to spot leaks, helps the engine run slightly cooler, and is important for resale presentation. It’s a reasonable maintenance task for any car.
The concern about water damage is legitimate but often overstated for modern vehicles. Modern engines are designed with sealed electrical components and are regularly exposed to water from rain, puddles, and engine washing at service centres. The key is to avoid directly blasting sensitive components with a high pressure stream and to allow the engine to dry properly before starting.
If your car is older, particularly before 2000 with older ignition systems and non sealed components, more caution is warranted. For very old vehicles, a dry clean approach with brushes and degreasers only may be preferable.
What You’ll Need
A degreaser, either an engine safe degreaser or diluted all purpose cleaner
A soft brush set in various sizes for different areas
Microfibre cloths
A garden hose with adjustable nozzle, not a high pressure washer
Plastic bags or cling wrap for covering sensitive components
Rubber and plastic protectant for the finish
Step by Step Engine Bay Cleaning
Step 1: Let the Engine Cool Completely
Never clean a hot engine. Allow the car to sit for at least an hour after driving. Two hours is better. Applying cold water or degreaser to a hot engine can crack plastic and rubber components, and the steam created by water on hot metal is both ineffective for cleaning and potentially dangerous.
Step 2: Cover Sensitive Components
Use plastic bags, cling wrap, or dedicated component covers to protect the alternator, fuse box, battery terminals, exposed air intake, and any other electrical components you can identify. These don’t need to be completely sealed. They just need to be protected from direct water or degreaser contact.
Step 3: Apply Degreaser
Spray your degreaser across the engine bay, focusing on areas with oil buildup, grease accumulation, and grime. Allow it to dwell for the time specified on the product, typically 3 to 5 minutes. Don’t let it dry on the surface.
Use brushes to agitate stubborn grease in tight areas, around the engine block, along hoses, and in the gaps around the firewall. A toothbrush sized detailing brush is useful for detailed areas, while a larger brush works well for covers and plastic surfaces.
Step 4: Rinse Carefully
Use a garden hose on a gentle flow, not a jet setting, and not a pressure washer. Work methodically from the back of the engine bay toward the front and from top to bottom. Keep the stream moving and avoid directing water directly into any electrical component, the alternator, or the air intake.
The goal is to rinse degreaser and loosened grime away, not to blast the engine. Gentle and thorough beats hard and fast here.
Step 5: Dry the Engine Bay
Use compressed air if available to blow water out of gaps and off electrical components. Use microfibre cloths for accessible surfaces. Then, and this is important, start the engine and let it run for 10 to 15 minutes. The heat from the running engine dries residual moisture from components far more effectively than any towel.
Leave the bonnet open during this time to allow steam to escape. Check that the engine starts and runs normally before closing up.
Step 6: Dress Plastic and Rubber
Once dry, apply a rubber and plastic protectant to engine bay plastics, hoses, and rubber components. This restores colour, helps prevent cracking from UV and heat, and gives the engine bay a finished, maintained appearance.
How Often Should You Clean the Engine Bay?
Once or twice a year is appropriate for most vehicles, more frequently if there are oil leaks that cause buildup, or when preparing a car for sale. The engine bay doesn’t need to be spotless after every wash, but an annual clean is reasonable maintenance.
If you’d prefer to have the engine bay cleaned as part of a professional detail, ask your detailer. Many include it as an add on or optional extra. CarConex connects you with trusted local detailers who can advise on what’s right for your car. Post your request through the app.