Leather seats are one of the most appealing features in a car. They look great, feel premium, and can last the life of the vehicle if properly maintained. But leather is also one of the most misunderstood surfaces to care for. Use the wrong products or techniques and you’ll do more harm than good.
Here’s how to clean and protect leather car seats properly, whether you’re tackling it yourself or want to understand what a professional should be doing.
Understanding What You’re Dealing With
Before reaching for any product, it helps to know what type of leather your car has. Most modern vehicles use one of the following:
Fully finished coated leather: the most common type in modern cars. Has a protective coating on the surface that gives it a uniform appearance and makes it more resistant to staining. Most cleaning products are designed for this type.
Semi aniline leather: partially coated, slightly more natural feel and appearance. More susceptible to staining and requires gentler care.
Full aniline leather: no protective coating, very natural and soft. Found in high end vehicles. Requires specialist care and is much more vulnerable to damage from incorrect products.
Faux leather / vinyl: not technically leather, but common in many vehicles. More forgiving but still benefits from regular cleaning and UV protection.
When in doubt, check your owner’s manual or contact the manufacturer. Using a harsh product on aniline leather, for example, can cause irreversible damage.
What You’ll Need
A dedicated leather cleaner, pH balanced, not an all purpose cleaner or baby wipe
A quality leather conditioner
Soft microfibre cloths, at least two
A soft bristle detailing brush for stitching and textured areas
A vacuum with a soft brush attachment
Step by Step: How to Clean Leather Seats
Step 1: Vacuum First
Remove loose dirt, crumbs, and debris before applying any liquids. Use the soft brush attachment and pay attention to the gaps between the seat cushion and backrest, and around stitching. Rubbing dirt into leather during cleaning causes micro scratches.
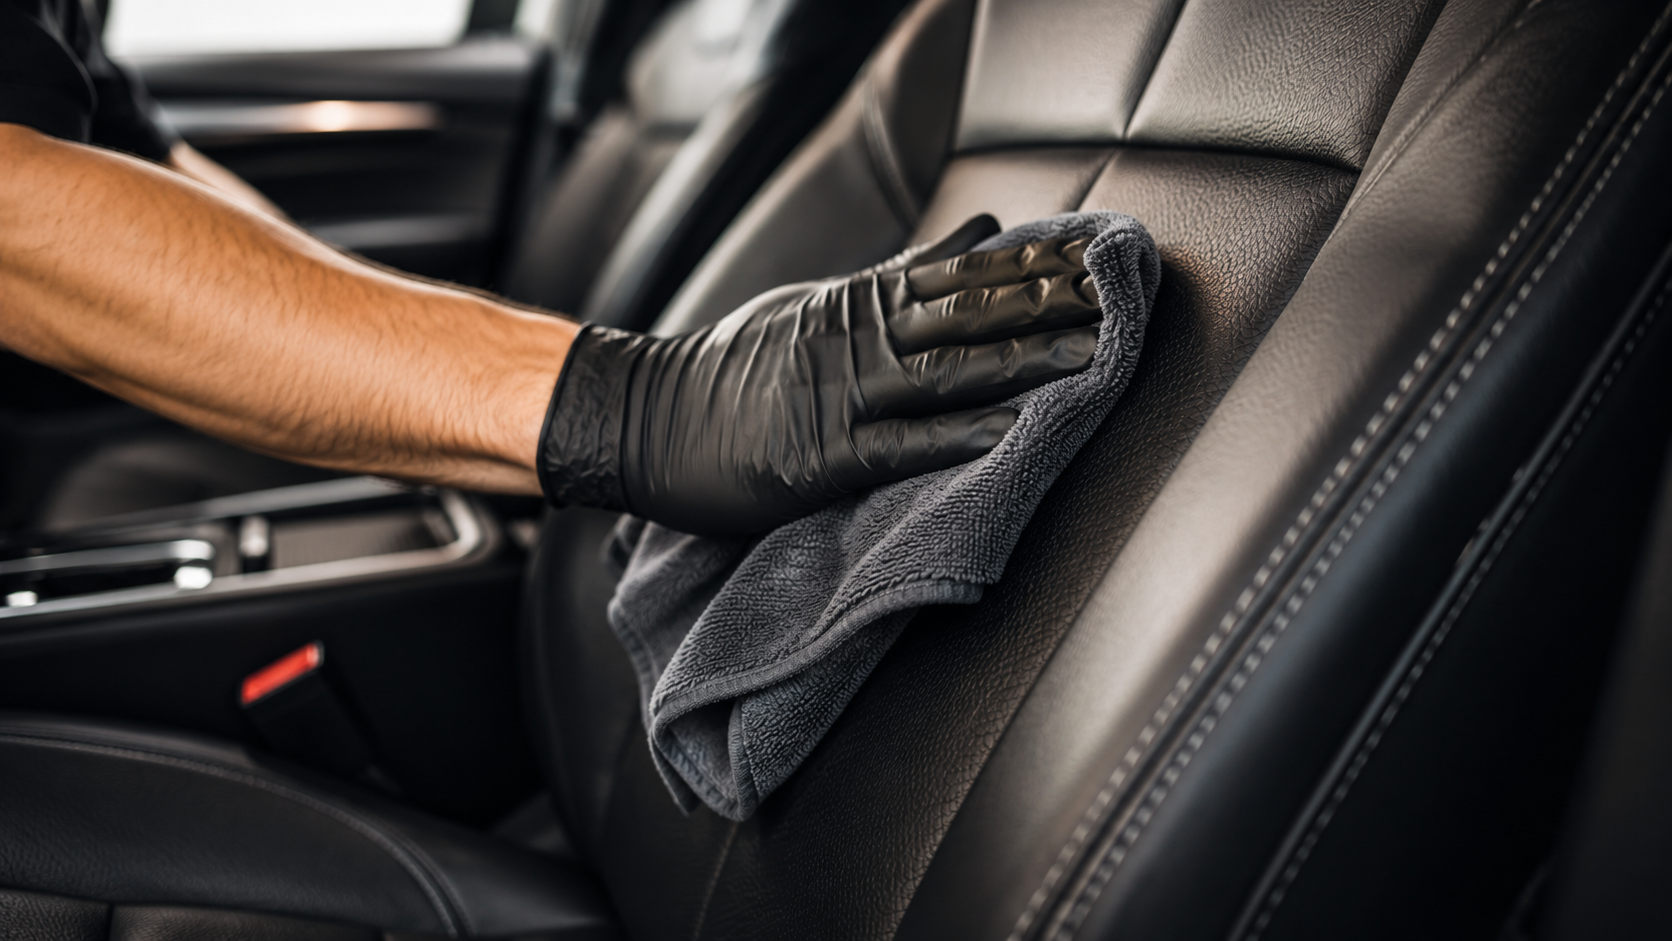
Step 2: Apply Leather Cleaner
Spray a small amount of leather cleaner onto a microfibre cloth, not directly onto the seat. Work in small sections, using gentle circular motions. Let the product do the work; scrubbing aggressively can damage the surface coating.
For stubborn marks or ingrained dirt in texture or stitching, a soft detailing brush with a small amount of cleaner can help lift it out without damaging the leather.
Step 3: Wipe Away Residue
Use a clean, dry microfibre cloth to remove the cleaner and lifted dirt. Don’t let the leather air dry with cleaner still on it. Residue left behind can cause dullness or streaking.
Step 4: Apply Leather Conditioner
This step is critical and most often skipped. Leather is a natural material that dries out over time, particularly in Australia’s heat and UV conditions. Conditioning restores moisture and flexibility, preventing cracking and fading.
Apply a small amount of conditioner to a clean cloth and work it into the leather in gentle, circular motions. Allow it to absorb for a few minutes, then buff off any excess with a clean cloth.
How Often Should You Clean and Condition Leather?
Light cleaning: every 4 to 6 weeks, or whenever visible dirt or marks appear
Deep clean and condition: every 3 months is a good baseline; more frequently in hot climates or if the car is exposed to direct sun regularly
Before and after summer: Australian summers accelerate leather drying and fading; conditioning before and after is a smart habit
What to Avoid
Baby wipes and household cleaners: many contain alcohol, bleach, or solvents that strip the leather’s coating and cause premature drying
Silicone based products: these can leave a greasy residue that attracts dirt and may damage the surface over time
Excessive water: leather and moisture don’t mix well; always use products sparingly
Scrubbing or abrasive cloths: always use soft microfibre
When to Call a Professional
Deep stains, significant cracking, colour fading, or a badly neglected interior are jobs for a professional detailer. Leather restoration, which involves cleaning, conditioning, colour matching, and sometimes re dyeing, is a specialist skill that requires the right products and experience.
Attempting to fix serious leather damage with DIY products often makes the problem worse. A professional assessment is worthwhile before you invest time and money in the wrong solution.
CarConex connects you with trusted local detailers who offer interior detailing and leather care. Post your request through the app to compare local options.